Saturday, March 6, 2010

Coming out of hibernation

It's been a long while and a lot has changed since the last post. The last garden was almost an entire failure. It began when I put a pick ax in my foot, I know it sounds bad, it was. I had to have surgery to screw my bones back together. Needless to say the garden suffered despite efforts to maintain it. Then spider mites took over and ravaged every last plant. It was horrific. So much hard work all for not over a little white bug. I didn't even photograph the devastation.

Since then I've also moved. I'm no longer in a house, but instead an apartment in the northwest corner of Seattle. I was reluctant at first to start up the garden again for a few reason.

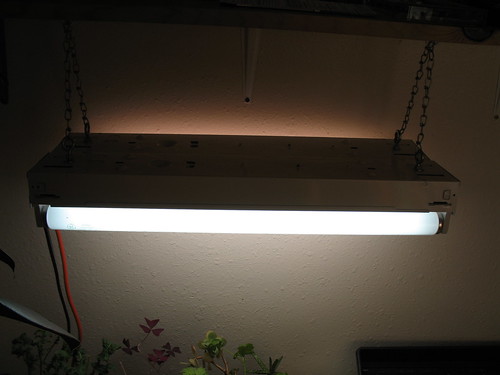
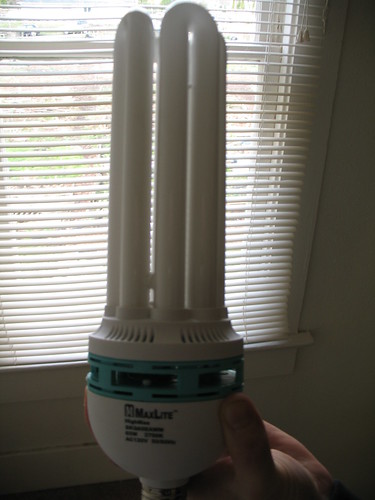
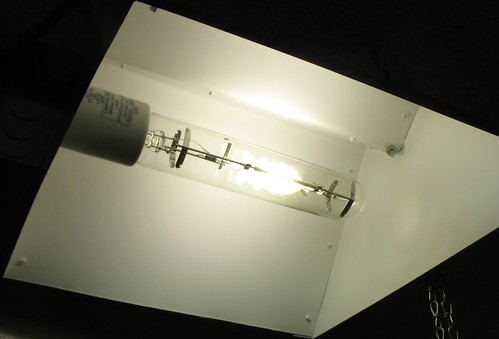
The first being that I sold the light. Mostly because if I was going to start again I'd need a better one. I haven't dished out the cash for a new one yet, but the days are getting longer and I figured I'd give it a shot just using natural light to see how that goes.

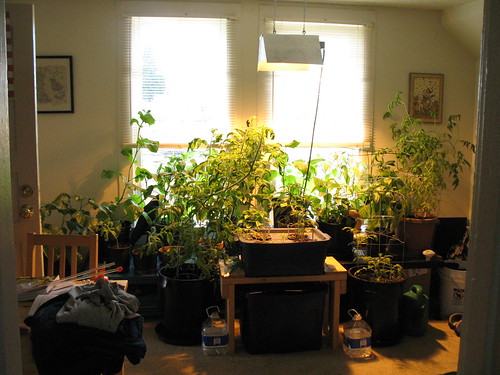
My new place is fairly well lit, unfortunately with indirect sunlight. There is a large east facing window in the living room and a smaller south facing window in the dining room. Being as the dining room is linoleum I opted for placing it there for now. As the temperatures get a little warmer the majority of the plants are going to go outside where they can get a lot more natural light (the walk is open facing south).

Here's a quick rundown of what I've got going so far and how it's fairing. I'm still using the seeds that I bought about a year ago, since I have tons of them and the cost to replace with brand new seeds far out weights the benefits. I know that it's best to use fresh seeds, but sometimes that isn't possible. Ob la di.

Martian Giant Tomatoes: Sprouted 2/26, still in small incubator
Roma Tomatoes: Sprouted 2/27, still in small incubator
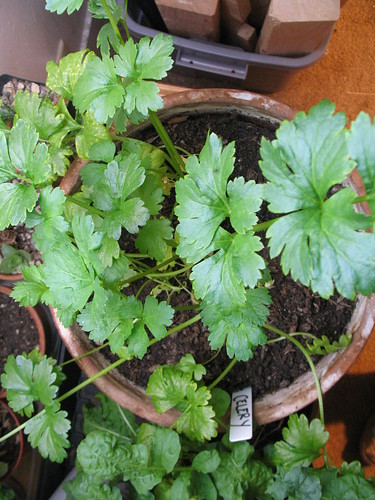
Cilantro: Sprouted 3/2, still in small incubator
Oregano: No growth
Yellow Summer Squash: Sprouted 2/24, still in small incubator but needs to be transplanted ASAP as they are getting too big and lanky (I need more pots)
Mediterranean Cucumber: Sprouted 2/24, 2/29 moved to small compostable pots
Pavira Chili: No growth
Cayenne Pepper: No growth
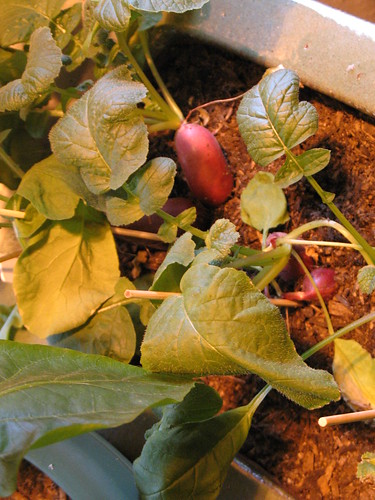
Red Beets: 2/27 sprout, still in small incubator
Brussel Sprouts: 2/26 sprout, desperately needs to be put into a pot, long and very stringy at this point (again need pots)
Oregon Spring Bush Tomatoes: 3/2 sprout, still in small incubator
Orange Eggplant: 3/1 sprout (only 1 of 3), still in small incubator
Hopi Tobacco: no growth
Scherazi Tobacco: no growth
Stringless Snap Bush Bean: 2/24 sprout, 3/2 moved to 5 gal pot with other beans
Cascadia Snap Bush Bean: 2/24 sprout, 3/2 moved to 5 gal pot with other beans
Yellow Pear Cherry Tomatoes: 3/1 sprout, still in small incubator
Orange Bell Pepper: no growth
California Sweet Bell Pepper: no growth
Yankee Bell Pepper: no growth
True Gold Sweet Corn: 2/25 sprout, 2/29 moved to small compostable pots
Triple Play Sweet Corn: 2/25 sprout, 3/6 moved to pot
Thai Basil: 2/27 sprout, still in small incubator
Red Basil: 2/28 sprout, still in small incubator, seems to be struggling a bit.

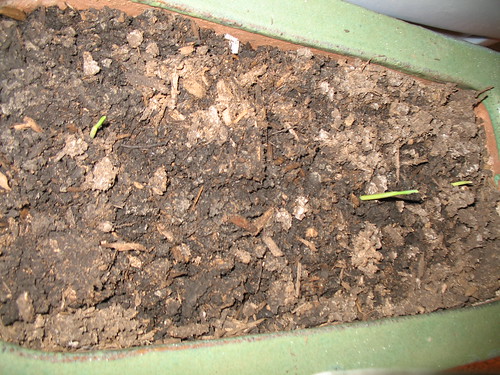
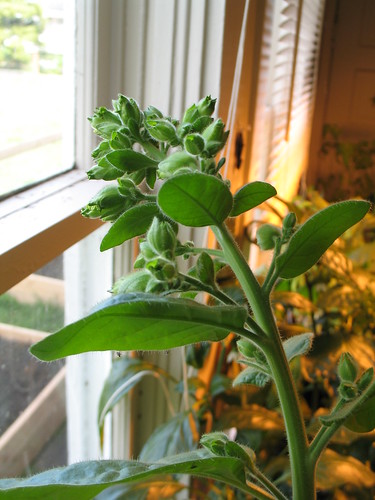
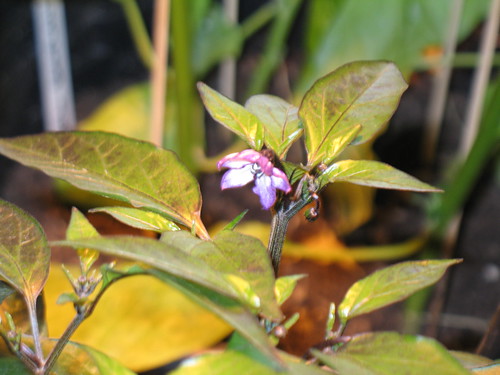
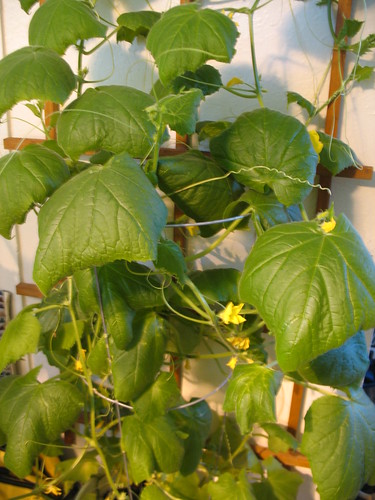
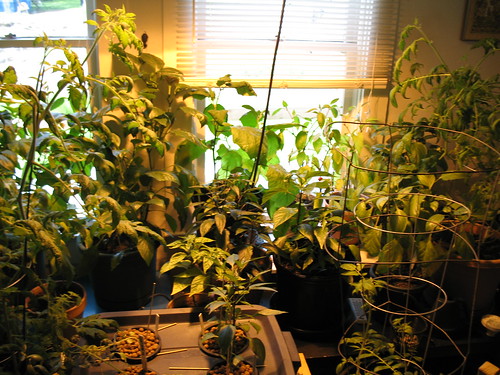
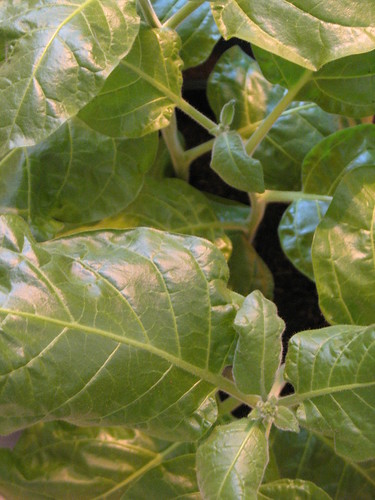
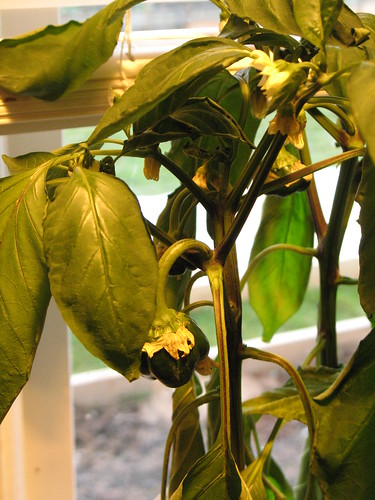
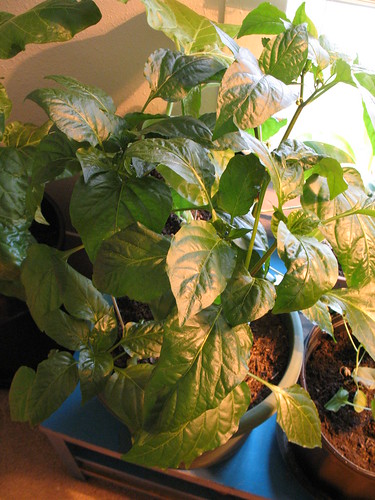
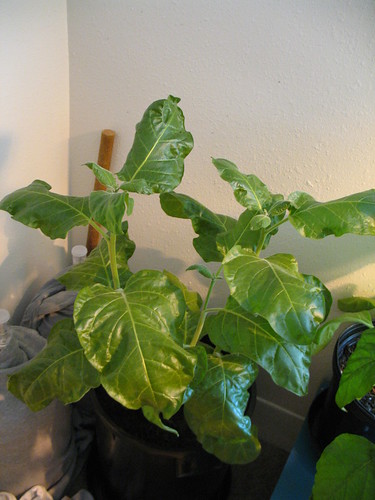
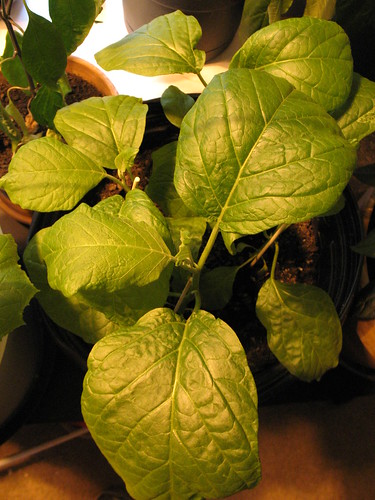
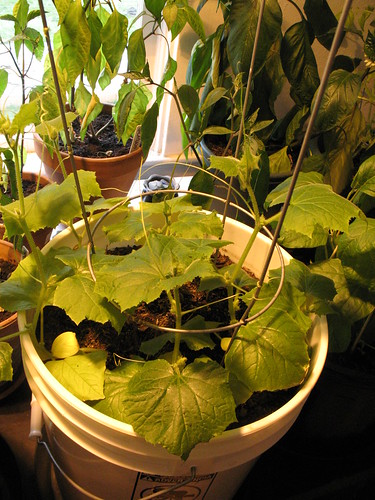
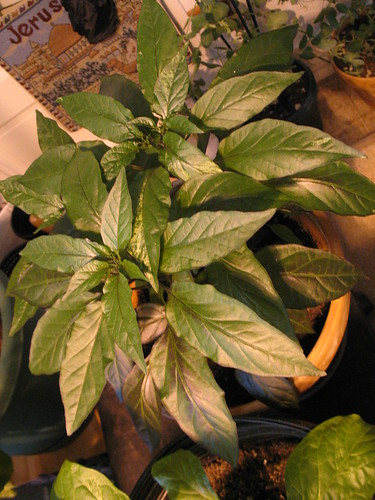
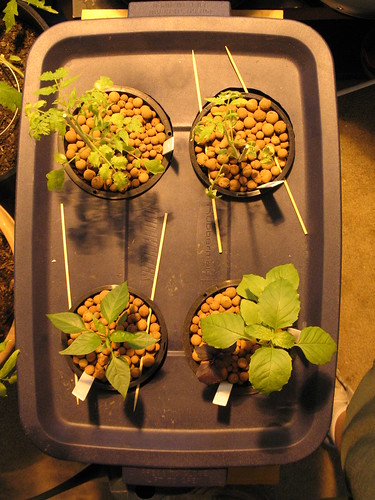
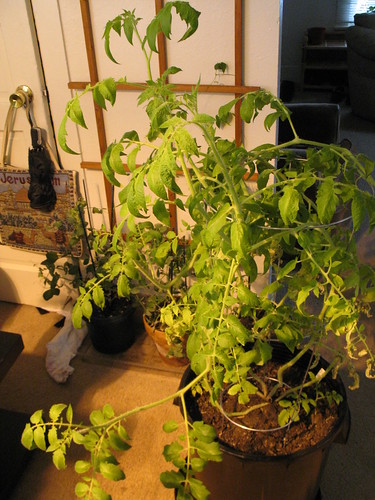
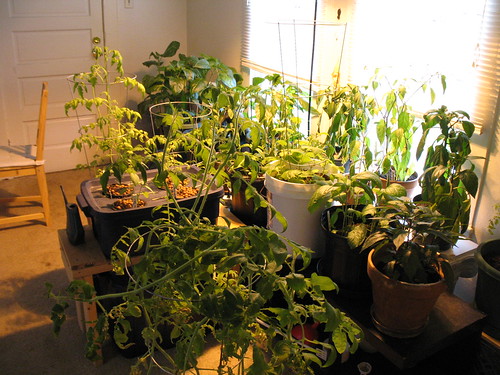
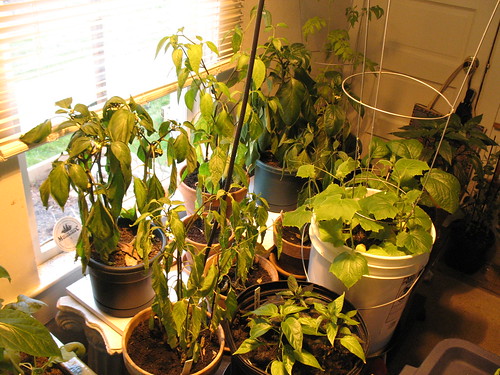
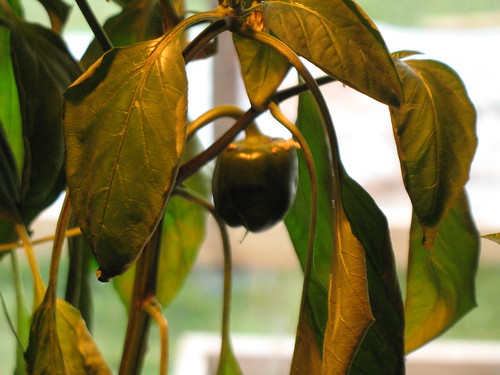
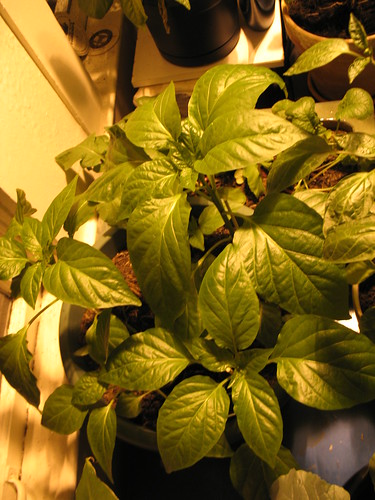
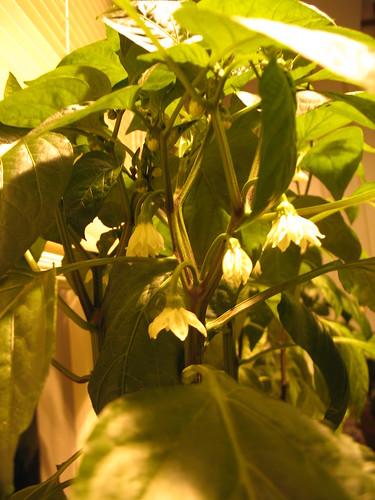
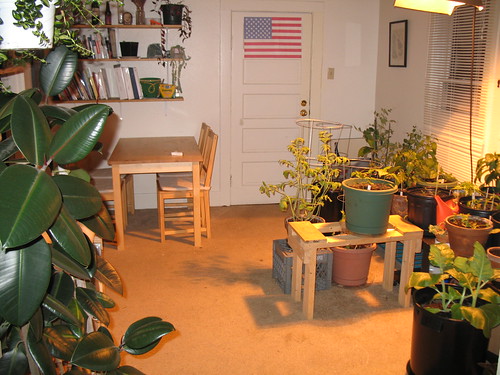
Here are a few pics of the scene so far:


Another thing that I've acquired since I moved is a carnivorous plant garden! It's actually really cool. I need to get some more plants in there but here's a peak at what it looks like:


Well that's the scene as of now. I'll keep y'all updated as we move forward.

Tuesday, May 5, 2009

April Update (I know it's a little late)

Things got a little out of whack with the garden. Well more with my foot. I put a pick ax into it the middle of April. Luckily the garden hasn't suffered too much. Major shout out to Mickey for helping quench the thirst! Here's what's going on:


The corn has sprouted! I'm not sure how well it's going to grow inside, but I figured it's worth a try.


Tobacco is flowering! The second round of plants has started to bloom. While the initial group is struggling a bit. They got moved a little further from the main light and weren't too thrilled about it so I moved them outside in a nice sunny spot. Unfortunately we've had some crazy weather in the last week and they might not make it. But I'm holding out hope.


This is a flower from the Peruvian Purple Pepper. I love this plant. The leaves were purple, the flowers are purple and the pepper should be purple too. It add a little color to an otherwise green canopy.


Cukes! These have been really interesting to watch grow. They took a while to get going but then just went to down. There are a TON of flowers growing with a few fruits already developing. This is one that I'm glad to be having success with so far. I could eat cukes all day long


Tomato flowers! Finally! After many long months I think that I've pleased the tomatoes and they have started flowering. In the end I think that I'm just going to have to move the fluorescents to a different spot because I think they were messing with the sleep cycle of the plants. Probably move them upstairs.


Here is a couple of over all shots.


Hopefully it won't be so long till my next post. I think that the next is going to be a detailed account of whats worked and why and whats failed and why.

Thursday, April 30, 2009

"What's going on in your house?"

This is a question that I've got from ALL of my neighbors at this point. It's unfortunate that the first thing that people assume is something illegal (before I started doing this I would have thought that too) but there are a couple of things that you can do to quell these concerns.

The first and foremost I've found is placing your garden is a very conspicuous place. As long as you are sticking to vegetables you've got nothing to hide (well, a little tobacco is okay too). My garden is placed next to the largest windows in my house and gives anyone interested a view. This helps people notice something and makes it easier to lead into a conversation about your garden.

The second thing that I would recommend is talking with your neighbors and inviting them to visit your garden. This is actually extremely beneficial for many reasons. Not only does it let them know what you're doing but I've found that people are very interested. Just from people coming over to see my garden many of them have expressed an interest in trying something similar in their own home. And the more people growing food the better!

Finally I recommend that you start a blog. It is a good way for people to become familiar with the process and then it doesn't seem so weird. It also then allows you to share your knowledge with the rest of us. (If you already have or start a new indoor gardening blog, hit me up in the comments so that I can follow you).

By taking these easy steps you can dispel any concerns people might have and hopefully encourage them to start growing more of their own food.

Sunday, March 22, 2009

March Update

Alright so everything has taken off! It's all looking really awesome, except the roma tomatoes. they grew out of control and started breaking themselves apart. So I butchered it up and am trying to propagate a bunch more of them. Also we've got peppers starting to come in like crazy. So far they've been the easiest to grow indoors. Every one of the plants I have is showing signs of flowering or fruiting. Some of them may look a little wilted, but these photos were right before watering and I've cut back the frequency for the fruiting pepper plants.


Friday, February 27, 2009

Fertilizing by number

There are many fertilizers on the market today. Some have wild promises of unprecedented growth. Some assure they will provide the largest blooms. The real question is: "Which one is right for me?"

In answering this question I'd like to start by saying the right fertilizer will always be organic. Products such as "Miracle Grow" should never be used for an indoor garden for many reasons. The most important of which is the health of everyone living in your house. By using chemical fertilizers on your plants you're also introducing them to the environment in which you live. These are also plants that you will one day be eating, so it's kind of a double whammy. There is also nothing synthetic fertilizers can do that organics can't. Remember that everything you're growing has grown wild at some point through natural fertilization.

When looking at fertilizers you will notice that they all have a number. This number is three digits usually separated by dashes (example 6-4-4). The first number is going to be the ratio of Nitrogen. The second is Phosphorous. The final number is Potassium.

Nitrogen:
Nitrogen helps in the production of leafy, green growth. This is good for early development growth, but there are down sides. Too much nitrogen and your plants will struggle to flower and hence produce. Too much nitrogen can lead to extreme "burns" on our plants. These "burns" will appear as brown colorizations appearing on the leaves of the plant.

Phosphorous:
Phosphorous is used for root development and to promote healthy flowering and fruiting. Once your plants have started to produce flower you should be considering a higher dosage of Phosphorous. Too much phosphorous can prevent the plant from absorbing other essential micro nutrients.

Potassium:
Potassium is what will give your plants more girth. Its used to strength the stalks and also increase resistances to heat and disease. Don't neglect your potassium, as it can lead to plants that are too weak to support their full growth. However if you use too much it will result in a "burn".

As you can see it's a delicate line that you must follow when fertilizing your plants. Too much and you'll have burns. Too little and your plant won't be getting the nutrients that it needs. Being as fertilizing your indoor garden is a must I recommend that you start off with low levels in order to see how your plants react. Then slowly increase one of the nutrients to see how they respond. This can easily be achieved by using products that are nutrient specific as opposed to a premixed formula. Once you find the appropriate ratios you can then look for a mixture that will suit your needs.

Tuesday, February 24, 2009

Let there be light

One of the most important things about indoor gardening is the light source. Unless you live in a climate with a lot of sun year round and in place with lots of windows to allow the natural light in, you're going to need to create your own light. There are a variety of lighting type you can use.


Incandescent:
These are similar to the most common light bulbs that you see. They work in any standard light socket and provide a spectrum of light more suited to your plants needs than everyday house lights. These would be useful if you are keeping a very small garden mostly comprised of herb and plants you intend to move outside. However I must advise against incandescent bulbs. They are extremely energy inefficient (costly) and do not provide the best light spectrum or intensity needed for plant growth.

Fluorescent:
These lights are commonly used in office building. They require a fixture, but the ballast is built in. There are a couple of different bulb types that you can buy. The regular bulbs will get the job done, but there are manufacturers who are making bulbs that attempt to duplicate natural sun light as much as possible. Fluorescents are much more energy efficient than incandescents. The down side is that they do not provide the intensity needed for full mature growth. This is the type of lighting that I currently use for my seedlings and leafy greens.

Compact Fluorescent:
These are a sort of hybrid between the first two. Take cautious when buying this type of bulb. The warm white will not benefit your plants. You must get the full spectrum bulbs. These would be ideal for use in apartment where space is an issue and a large bulb may interfere too much with the rest of the space. You get the ease of an incandescent with the increased energy efficiency of a fluorescent.

Metal Halide:
Part of the High Intensity Discharge (HID) group, these lights are good for larger operations. These provide a better growing environment during the vegetive phase as they produce the necessary spectrum for growth. They are able to closely replicate natural sunlight while still being fairly efficient. The down side is you will need a separate ballast.

High Pressure Sodium:
Another option of HID lighting. The benefits and disadvantages are similar to Metal Halides. HPS lights are more suited for the flowering and fruit producing plants of your garden. I use a HPS light for the bulk of my garden.

LED:
LED's a fairly new technology. They are the most energy efficient mode of lighting. You can also get LED lights that produce the exact spectrum of lighting needed for plants to grow, making them theoretically more impactful than natural sunlight. However, they lack the intensity to support larger plants, such as tomatoes.

This is just a quick little blurb about the main types of lighting. I hope to get back in here and expand in the future.

Wednesday, February 18, 2009

Where should I start my indoor garden?

Once you've decided that you would like to enter the world of indoor gardening, there are a few things that you'll have to do before you can sow your first seeds.

Location! Location! Location!

You are going to want to think about a location that works within your home without being in the way. Tucking your garden away in a room that you never use could possibly lead to neglect. I have found that if you place your garden in the middle of your living room it may disrupt your everyday life and potentially place your plants in harms way. If you have pets or children you may want to consider places they are less likely to interfere with them (my cats loved to sleep on my tobacco when it was still young).

When I placed my garden I ended up using a portion of the dining room (as we usually eat in the bar). There are large west facing windows which help it to get a little natural light. The majority of the garden is over a heat vent, helping to maintain the proper temperature. I also positioned it so that it focuses on a side of the room that receives less traffic, while I still walk past it many times a day.

Climate

But most importantly is finding a place with the correct climate.

When you're growing tomatoes and peppers they enjoy a warmer climate. I tend to keep mine around 68 degrees minimum. When summer comes around that temperature may swell to close to 80 degrees, but they can still tolerate that heat. The last thing that you want is for them to get too cold and freeze to death.

Now with other plants such as lettuces, arugula, and many herbs, the temperature does not need to be so intense. And in some cases too hot can lead to negative effects. An example of this would be the arugula that I started in the same environment as the peppers and tomatoes. They seemed to be doing great, growing more and more every day, only to find that the warm climate and too much lighting causes the plant to become excessively bitter. In the end, make sure that you investigate the natural growing climate and duplicate as much as possible.